The build review.
Recently I got my hands on a new car; I love new cars and especially the build. The build is when so much is revealed and buying a ready built car for me always leaves me wondering what’s inside and what makes it tick, will I be able to fix it quickly when things go wrong etc. Especially as a retailer it’s much easier to offer good customer service when you know exactly what’s inside than when you have just looked at the pictures or at a RTR for example – anyway enough soap box lets get on with things.
Academy is a Korean company with an incredible array of cars and well known and respected in Europe and in their infancy were making a move in Australia but only just re-released again with their newer and much improved range of kits. The range covers 1/12th and 1/10th and in 1/10th there are Electric and nitro both Off and Onroad, 2wd and 4wd kits. My particular interest is in 4wd and covering both Onroad and Offroad so they are the kits I will particularly be looking at. If you are in a club that races the new Tamiya F103GT or any of the other 2wd pan cars then a good look at the SP3X PRO would be worthwhile – I reckon it would be half a chance in that class – I used to love racing Pan Cars and F1 (2wd) when they were popular. Actually if you’ve never done it, you’d be surprised at how fast they are with small motors and batteries and how exhilarating it is to drive them compared to the 4wd touring cars.
The car I have for build review today is the Onroad 4wd Touring Car STR-4 PRO11. The kit comes in a very attractive box and is well packaged. The parts are assembled in plastic bags and numbered A through J and each bag represents a complete step in the construction. The manual is very clear and in full colour and lays out precisely what is required to get a good build. Instructions are in English and what I assume to be Korean text but I think you could build this car from the pictures alone.
The first construction is the front “Torque Limiting” oneway unit. This is an interesting piece of equipment and will be the subject of further discussion as we try it out on the track and it’s various settings. I am not a oneway fan and will get a front diff eventually – ( I’m guessing – same as the rear and with an easy conversion to a front spool using two of the front oneway torque limiting pads to sandwich the diff drive ). There are shims supplied with the oneway to adjust the clearance between the drive gear and the bevel gear. These gears, of course determine the all-important internal gear ratio – in this case 42/18 or 2.33. This is a low ratio by modern standards so should enable lower power motors, say 540 or stock to spool up pretty quick – I’m tipping great acceleration from this machine. Decision Time I put in one shim for the crown gear and all the bevel gear ones to start with and will adjust after a couple of run in runs.
On to the rear diff and nothing strange to note here – a simple build. Worth noting however is this. Academy give you a generous tube of Silicon grease and at various places throughout the manual they indicate the application of grease by a little picture of a grease tube. There is only silicon grease though, no black grease. I think silicon grease is a must for the ball diff but for other applications like the thrust bearing and gears etc I would think that a good black grease would be better. (Decision Time I used black grease on the thrust and reverted to some thin shock oil for the surface of the bevel gears after talking to some old HPI Pro4 drivers who have experience with very similar diffs. ). The rear outdrives are plastic and there is a cunningly designed spreader, breaker protector that slips over them to ensure they are still light but now strong as well. The diff is easily adjustable in the car with a small slotted screwdriver.
Academy have been very thoughtful in the provision of spur gears and have supplied sizes from 72 through to 80 in 2 tooth increments. They also include a spur adaptor if you want to use another brand of spur –great thinking Academy. There is a gear ratio chart in the manual that you can refer to when making this decision about which size spur to use. Work out if you are running stock or mod etc then what ratio you most commonly use – the chart will tell you which pinion sizes will mesh with which spurs and then choose to suit – Decision Time – I assumed I would be running stock so chose the 78t spur – this should be ok for 540 as well or maybe the 80t.
The suspension is next – everything fits as it should, there is no trimming required and the suspension pins are suspended in replaceable pivot balls held in the lower arm mounts. There are option arm mounts available (not included) to adjust rear toe in and anti-squat should they be needed later. I should mention that the chassis is of the obligatory graphite plate and looks good.
Next simply mount the motor mount the completed gearboxes and the drive shaft all be simply screwing them to the chassis in turn. All the screws are the 2mm hex drives – tip – if you don’t have a 2mm hex driver get one before you leave the Hobby Shop as you will need it. Academy supply the three sizes of allen keys needed but they are those suckfull little bent over things that might be useful for emergencies but not building a whole car, they also supply the mandatory “Tamiya” spanner, probably officially known as a box wrench.
The most painful job of all is next – the turnbuckles. If you build them as instructed – to the exact length stipulated you will end up with a car that requires very minimal adjustment at the end.
Fully ballraced steering and servo saver is next – easy to build, looks good and should work well. Throw on the top deck, shock mounts front and rear and it’s all starting to look good.
Academy have included some battery trays in 3’s which can be screwed to the chassis in various format to allow optional battery placement. Decision Time I opted for the standard all down the left side.
The uni’s are next and an interesting feature not seen on other cars – the axle is a purple alloy piece with one bearing shoulder and external taper which obviously goes through the hub from the inside and then there is a wheel hub also with a bearing shoulder and internal taper which goes through the hub from outside. The whole shebang is held together with the 3mm allen screw that holds the wheel on. Well it’s different we’ll see if it works well in practice or not –Judgement Reserved.
On to the shocks – my second least enjoyable task after turnbuckles. These are very easy build and the only point to make here is some confusion. There are two different length top cap and bottom ball end for the top and bottom of the shocks effectively making the shock longer or shorter but it is not clear what ones to use for what purpose – long ones for the rear short for the front or what ? Decision Time I am using short all round and at this early stage, apart from a couple blats up the street chasing the neighbourhood dogs, think it’s the right decision – I’ll know after I run it on the track and start adjusting for ride height and droop etc. the included pistons for the shocks are a two hole for the front and a three hole for the rear – I personally have a preference for the same all round but time will tell – I can always change it later. There are a variety of pistons available on the option parts list.The supplied oil is 50wt but I opted for 35wt all round as my club track is concrete and a litle bumpy in places.
Fit the bumper, body mounts (interestingly the rear mounts can face forward or back so if you are using say a Mazda 6 body your body mounts don’t end up under the wing ), motor (nice purple heatsink included), servo, transponder holder, esc and receiver etc and you are nearly done.
There are no stabiliser bars included with this kit although there is provision for them and they are available as an option. I don’t usually use them with rubbers anyway so no worries to me but if you are going to run foams or think you need them for a high bite track then pick up a pair with your kit – there are two different thicknesses available. Also available is a full spring set in either two stage springs or standard linear springs. While on options there are also available some heavy duty ball diff hubs (might be useful when I build my front diff) and alloy joint cups for the drive shaft ends as well as the previously mentioned rear lower arm mounts in purple alloy with alloy hinge pin pivots and also some option front castor blocks.
There are wheels and tyres included with the kit but they look like unbelted tyres so not sure how they will work – time will tell.
A basic sticker sheet with various sizes of ACADEMY and STR4- PRO11 in black and white etc completes the package and should allow the decorator advantaged to get a striking looking body to complete things. For initial testing I will be using my Mazda 6 body from previous work until I can get a new one painted.
So there you have it folks:
Presentation and instruction ****
Parts fit and finish ****
Options list ***
Finished appearance ****.
On the track performance, durability, availability and price of spares – watch this space. Thanks to Performance RC Racing for the review sample. At the price I reckon it’s a goer.
Heavy
Ran the car at Brendale for the Winter Champs in the hotly contested Stock class. I was pleasantly surprised at how planted the car was and how easy to drive, even given my aversion to a Oneway in the front. The extra turn in certainly saw me bouncing over a few berms in the early heats. Finally finished in 10th which I was very happy with, ahead of a lot of fancied opposition – a good first up result for a major event. I lost a CV joint pin resulting in a fairly hacked around Uni Axle but apart from that no drama at all. LESSON – use locktite on the grub screws in future.
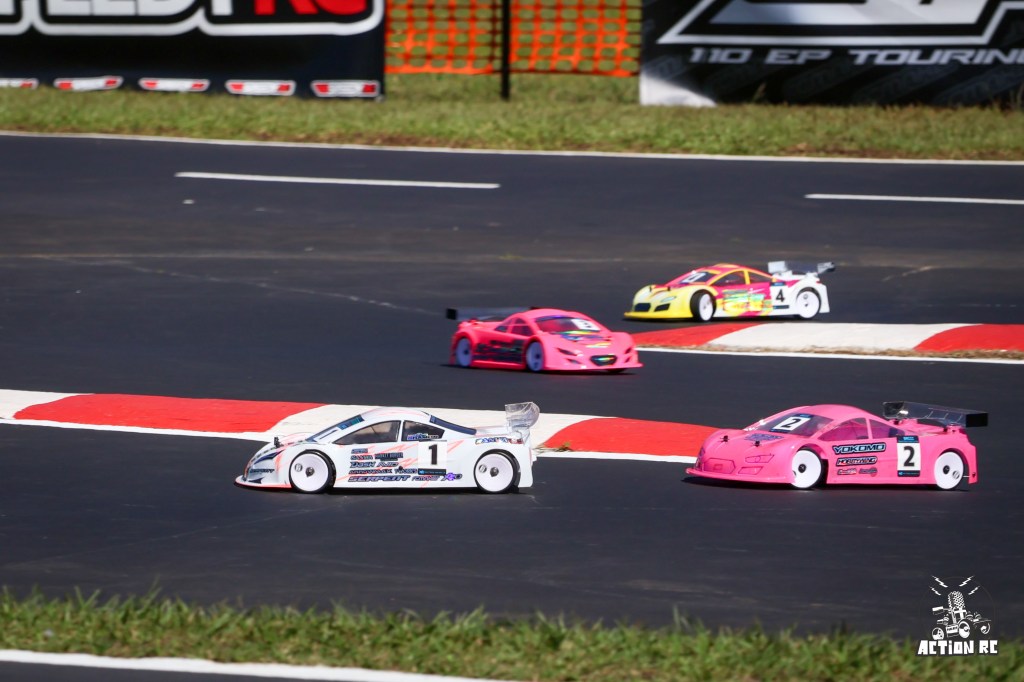
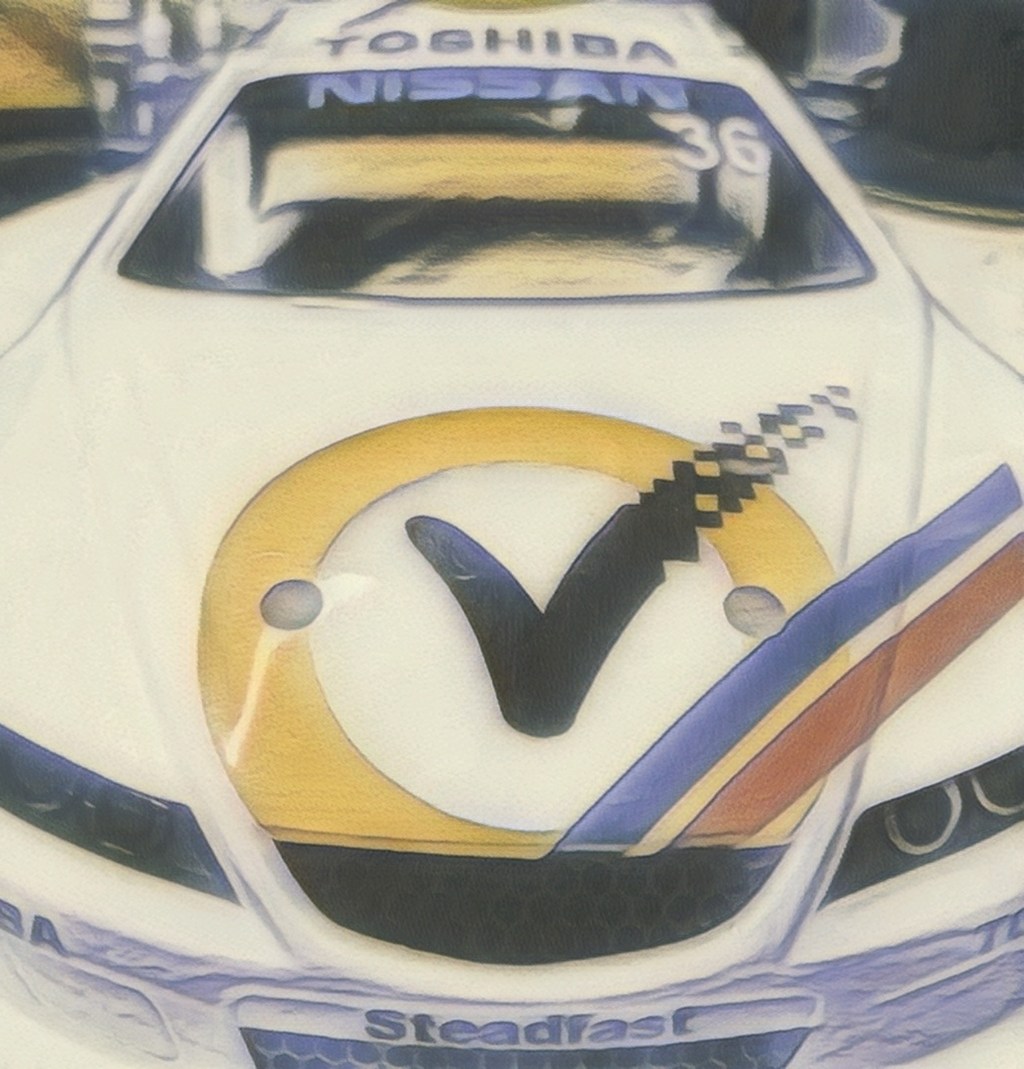
Here’s some pictures of my car. 1 2 3 4 5
Ran the car again at Logan for their Winter Cup with no changes from the box stock setup. The car had heaps of grip through the high speed turns, appeared a little slower down some of the shorter straights but was as quick as most down the long straights. I eventually geared down one tooth for the final and found the Monster was now much happier with the job and not losing anything on the long legs. Qualified for the A main in 10th and had a 6th 7th and 9th in the finals to finish 9th overall. Still happy with that and looking forward to some normal club events now so I can get some development time and try some things. So far nothing has broken that I know of. I did lose a Oneway outdrive and am totally mysterfied about where it went or how it got out. After 2 major meets and practice for same and 2 club meets and assorted practice runs everything is still good and there is no signs of any premature wear or stress – so far so good.
Stories from the world of RC car racing
2 responses to “ACADEMY STR-4 PRO11”
-
Managed to get out to Hobby Station and put twp packs through the car on Friday (indoor tarmac tight). As built the car was very good around Hobby Station, I thought as quick as anything I had driven there previously. Nothing broke and nothing fell off – a good promising start. At the end of eth two runs I found that the front Oneway, which has a torque limiting adjustment, had come slightly looser than I thought I wanted it – tightened it up and also tightened up teh rear diff a tad ready for teh first raceday.
Sunday 2.7.06 I raced the car at Bayside in stock. Bayside is a concrete track purpose built for tenth scale. Some switchbacks uphill mixed with 2 lengthy straights a sweeper and some open turns round a keyhole. During racing I had to get used to using a oneway again (I have been using a spool here for 6 months and a front diff before that so a oneway was very different ). The level of driver talent and equipment usage at Bayside in Stock is regularly very high and this day was no different with some of teh best stock drivers around in attandance. I qualified 6th and cam home 5th in teh A final which was a good result for teh first time out with teh car. My consistancy rating was considerably worse than usual and I am putting this down to not being used to teh oneway. I am going to build a diff and a spool for the car hopefully before I race Bayside again.LikeLike
-
Had another look at the car cause it appeared to be a bit tight in the diffs. The manual is a little vague in teh area of diff shiming. There are some shims for the crown gear and some for the pinion so I put some in. There is no note about whether you should put them in or not – I am now thinking that building without and then shiming for wear might be a better option. I took some out and certainly has freed up the car. I’ll be keeping an eye on it to be sure to get them back in as they are needed. I got the parts to build a front diff today so I’ll get that done for teh next phase of testing.
LikeLike
Action RC
Welcome to Action RC, a home of stories from the world of RC car racing.
Listen to the Action RC Podcast, read race reports and previews, the latest in product reviews or our regular opinion and reflection pieces.
Contact us for content requests or more information.


Leave a reply to Heavy Cancel reply